Design and Testing
In building our project, these are the design steps we completed, along with several of the challenges we encountered:
Sound playback upon user input:
Since we had prior experience with the Pygame module, we decided to use the Pygame.mixer.music module for our sound engine. Our initial test was whether pressing a key on the computer keyboard could trigger sound playback. We were not immediately successful, as we noticed a delay between playing the sound and hearing it play from the speakers. We searched for solutions online and found that a solution was to call pygame.init() after pre-initializing then initializing the mixer. After we had tested sound playback for only one key, we added sounds for all keys on the computer keyboard.

Note: n = integer from 1 to 26
Track recording:
Initially, we used arrays to save information on which key had been pressed and the time interval between a key press and the previous key press (or the start of the recording. Instead of arrays, we decided to use the pickle module to save and load track data, we used the pickle module so the track could be written to or read from separate Python modules.
Track playback:
We created a separate Python file to handle playback of tracks. Thus, we could have the main module call the playback module in the background while the main module functions were still available to the user. However, we ran into an error where the last note that should be played was not played. We realized this was due to the playback module ending and closing before the last note was played. To solve this, we added a final second of sleep time. We tested whether a track could be played back while a user was playing additional notes on the keyboard and were able to hear the two notes simultaneously from the speaker.
Input interface:
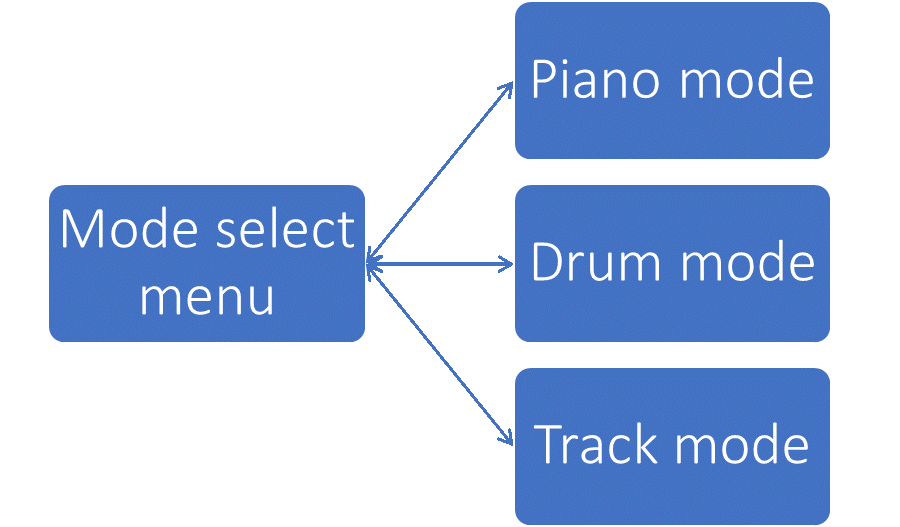
We changed the user input interface to be run completely on the Pi. This required determining the coordinates of the boundaries of the keys or drum pad sections on the screen. We tested these boundaries by clicking the edges of the images. For our drum pad interface, we also wanted to have a rectangular indicator show which area was being pressed before the sound was played. At first, we were not able to always see this indicator, but we discovered that it had to appear during a “mouse down” event, unlike other features, which were triggered on a “mouse up” event. We also decided on the following hierarchy of menus within our program. A user can go back to the menu select screen from any other mode and subsequently go to any other mode.
Multiple track selection:
We first implemented most of the program functions with only the option to record two tracks. We added the option to include an additional two track. With this option, we also allowed the user to select or deselect a recorded track to be including during playback. The track mode screen showed which tracks had been recorded.
