Pink
Green
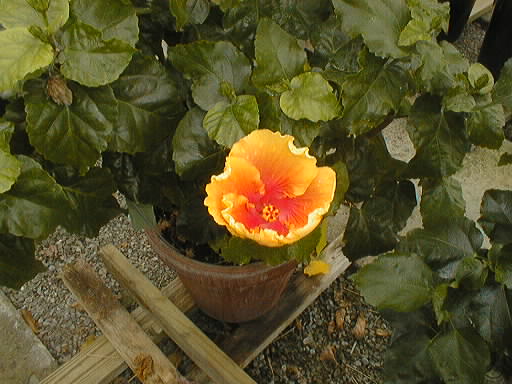
Florida Sunset
| Cultivar Name | Label Color | |
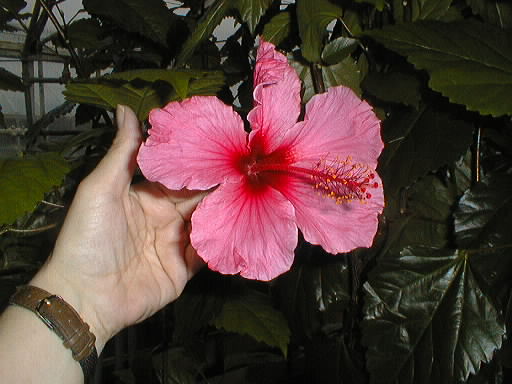
| Generic Pink | |
Pink |
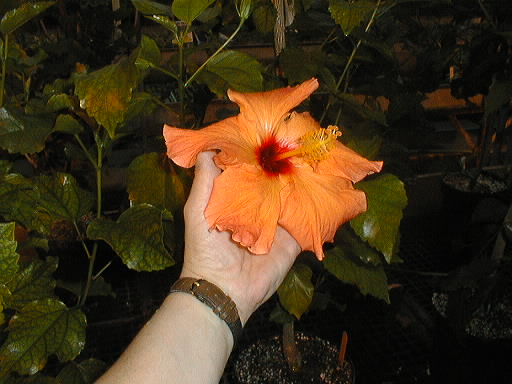
| Estelle Kanzler | |
Orange |
| Generic Yellow | No photo available at this time. | White w/2 stripes |
| Tylene | |
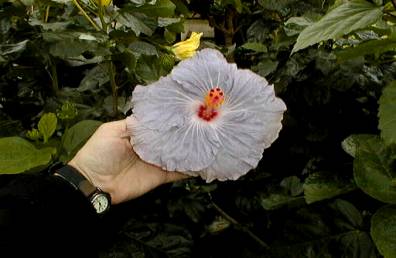
Lavender |
| Molly Cummings | |
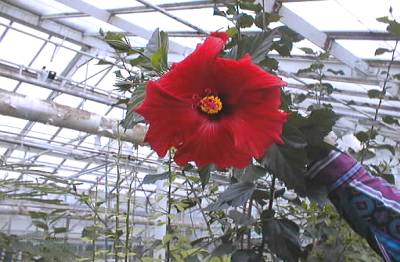
Red |
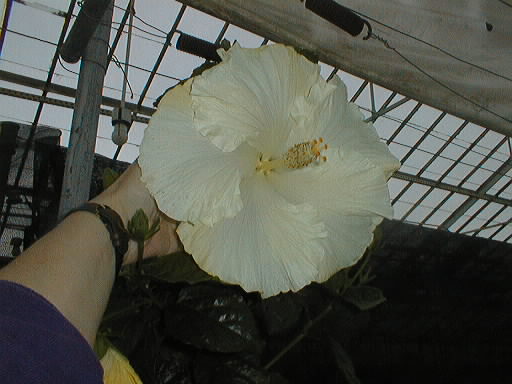
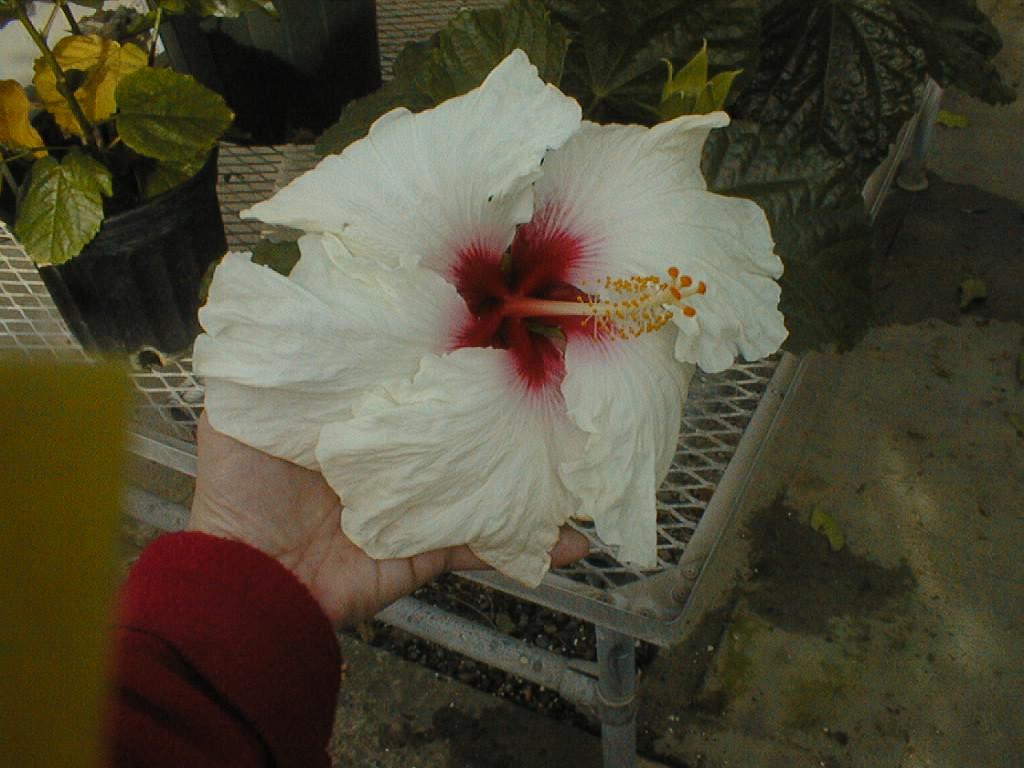
| Great White | |
White |
| Charlie's Angels |
|
Green
|
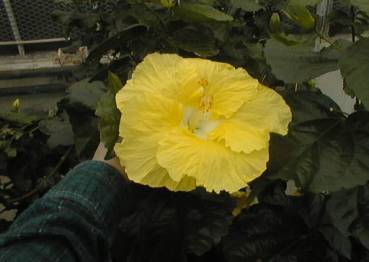
| Kenchen's Yellow | |
Yellow |
| Mrs. James Hendry | |
Yellow with 2 stripes |
| The Path | |
Pink with 1 stripe |
|
Florida Sunset
|
|
Blue |
1. 4 Hibiscus rosa-sinensis plants
2. Grafting knife (Please be careful when opening the bag containing your supplies, the knife is sharp!)
3. CD with grafting videos
4. Budding rubbers
5. Parafilm
6. Plastic bags
7. Tags/Labels
8. Twist ties
Material Needed for Potting
Potting Instructions
Hibiscus Care Links
Contact Information
Kelly Hennigan
14 Plant Science
Cornell University
Ithaca, NY 14850
(607) 273-3502
kh70@cornell.edu