Autonomous and VR WALL-E
Leke Ojo and Xiaobin Li
Introduction
The Raspberry Pi is a powerful and robust computer that is excellent for portable embedded systems. So we used it to build an autonomous WALL-E robot that navigates obstacles through an ultrasound sensor and can also be manually controlled through voice recognition or by pressing buttons on another host computer.
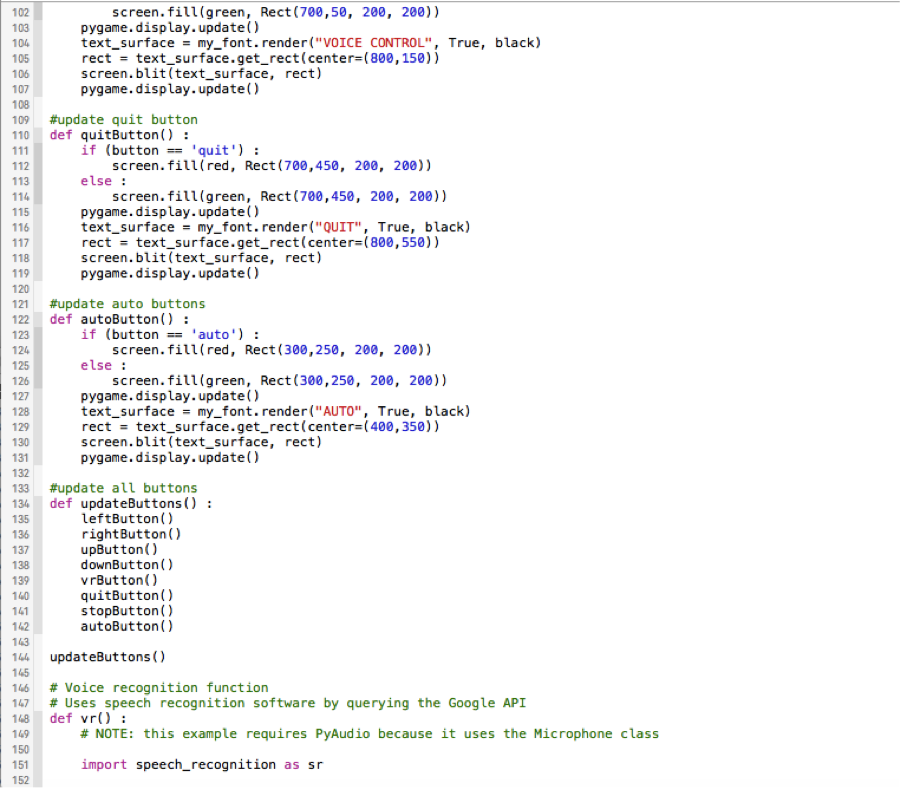
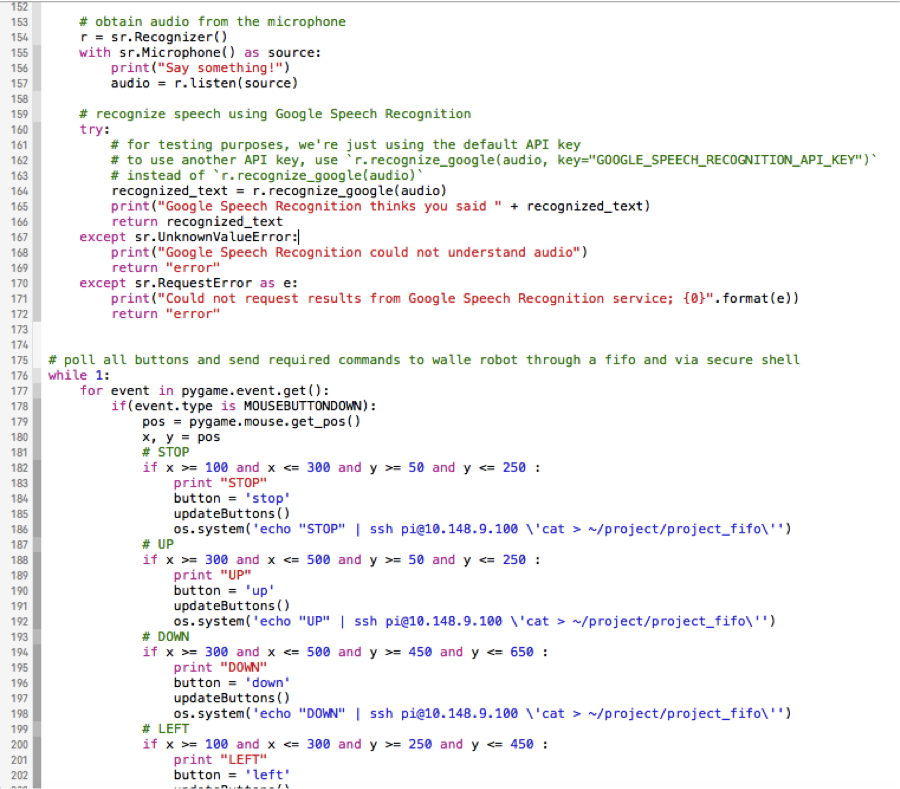
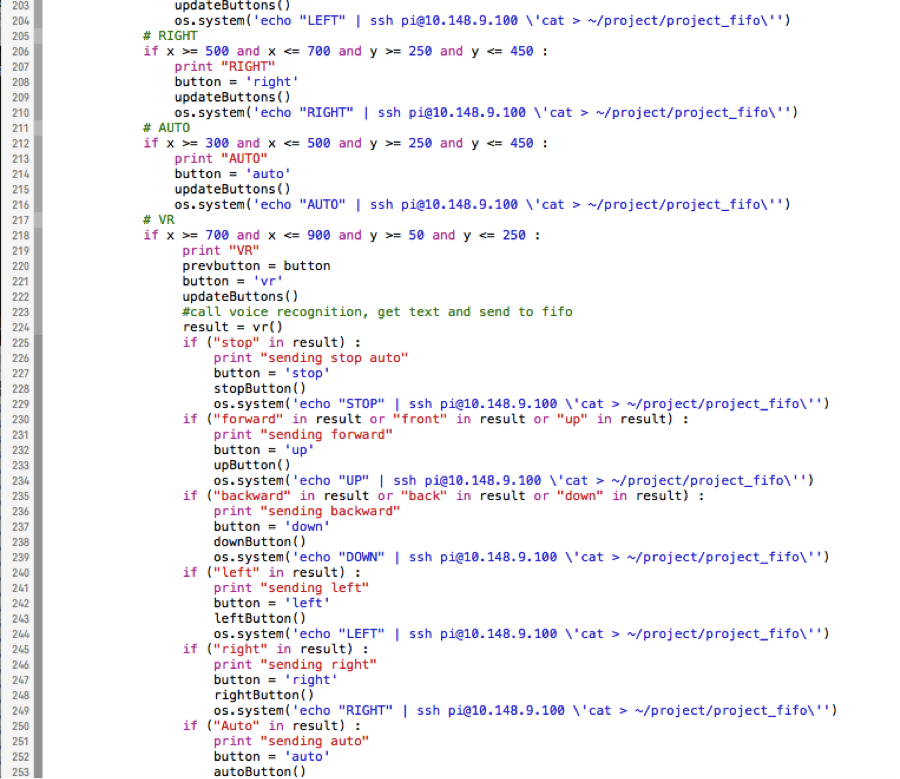
We had a client-server system, where the other host computer was the client sending the commands and the Raspberry Pi was the server, running these commands and sending acknowledgement back to the client. We were able to carry this out by sending commands to a FIFO on the Raspberry Pi via secure shell.
We used the Google speech recognition API to recognize input command and we parsed the output of this recognition and compared it to a couple of keywords to see if they matched a command the server can run.
Then we had an autonomous feature where the robot would explore the room navigating around obstacles using an ultrasound sensor that can calculate obstacle distances pretty accurately by sending inaudible ultrasounds that reflect from surfaces.
Objective
The objective of our project was to build an autonomous, remote controlled and voice controlled system.
Design and Testing
We initially wanted to do this on a quadruped-robot frame (Fig. 1), but we got a cheap and unstable frame from eBay that was unfortunately unable to navigate steadily, so we used a WALL-E frame (Fig. 2) instead :(.
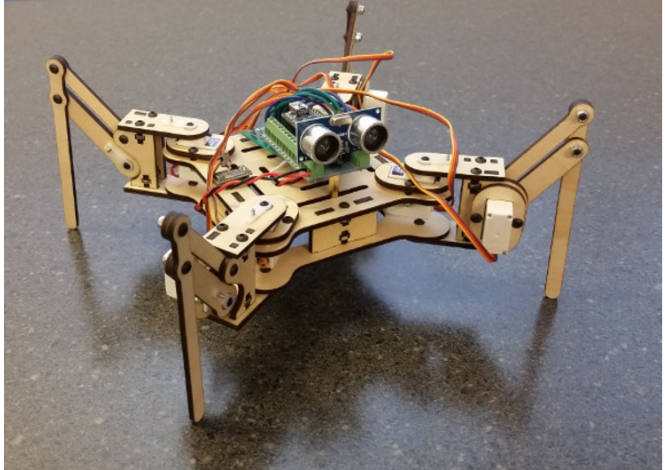
Figure 1 : Quadruped robot
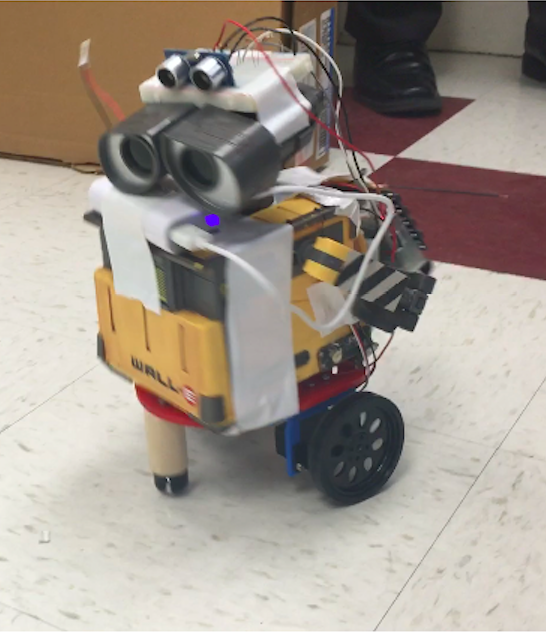
Figure 2 : WALL-E
Throughout the project we used incremental design and a test driven approach. We tested each component before assembling the robot.
walleClient.py

Figure 3 : GUI in initial state
The client simply polls each of these buttons to see if the user pressed it and on a detection, it sends the command to a FIFO named project_fifo on the Raspberry Pi which WALL-E reads to carry out its commands. The robot is stopped at default hence the STOP button is red in Fig. 3.
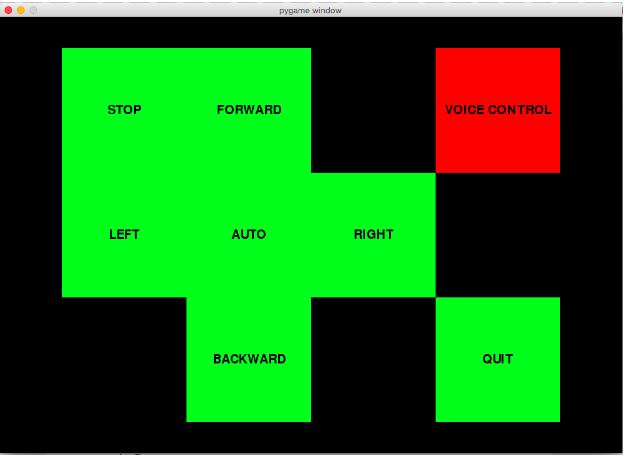
Figure 4 : GUI in Voice Recognition mode

Figure 5 : Case where Left is recognized as Loft and previous state is restored
When we click on Voice Control, the button turns red indicating that we are in voice control mode. The voice recognition code blocks to retrieve output from our microphone using a library called PyAudio. The three states after the voice recognition are :
- Voice is recognized
- Voice isn’t recognized
- There is a request error
walleServer.py
- SERVO CONTROL
- AUTO
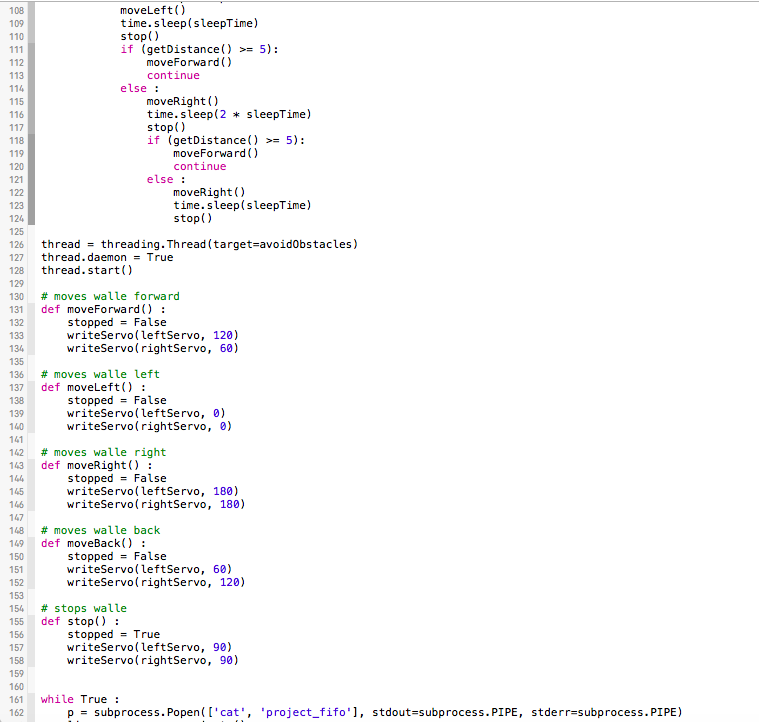
We had a standard microservo on the neck of the robot, so it can scan it’s surrounding, and continous rotation servos on the wheels for movement. The servos are controlled through pulse width modulation. The period of input signal is 20ms and the duty cycle varies from one to two milliseconds. The standard servo can only move from 0 degree to 180 degrees which is much different from the continuous rotation which err… continuously rotates. Degree “90” (~1.5 ms pulse) is middle, degree “0” is all the way to the left, and degree “180” is all the way to the right on the standard servo while degree “90” is a stop, degree “0” is the fastest rotation on the left and degree “180” is the fastest rotation on the right. The wire connection and working specifications are shown in Fig. 6, a similar connection was made for the continuous rotation servos.
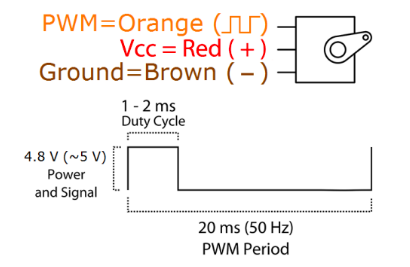
Figure 6 : Servo Connections
We used the python PWM library to control the duty cycle and frequency parameters for the servos, which were pretty trivial to test and calibrate. After testing these parameters, we attached the standard microservo to the neck of our robot. It took us a voluminous amount of time to do this. Because we had to drill holes into the neck and there was an obstruction from to the servo movement from the robot frame. After unsuccessfully trying many times to remove the obstruction, we made the neck servo redundant and had the robot move it’s entire body to observe the obstacles with the ultrasound sensors fixed at the head. Likewise we had an issue attaching the left servo, to the leg frame as it kept on breaking. So we put the robot frame on a custom chassis as shown in Fig. 2.
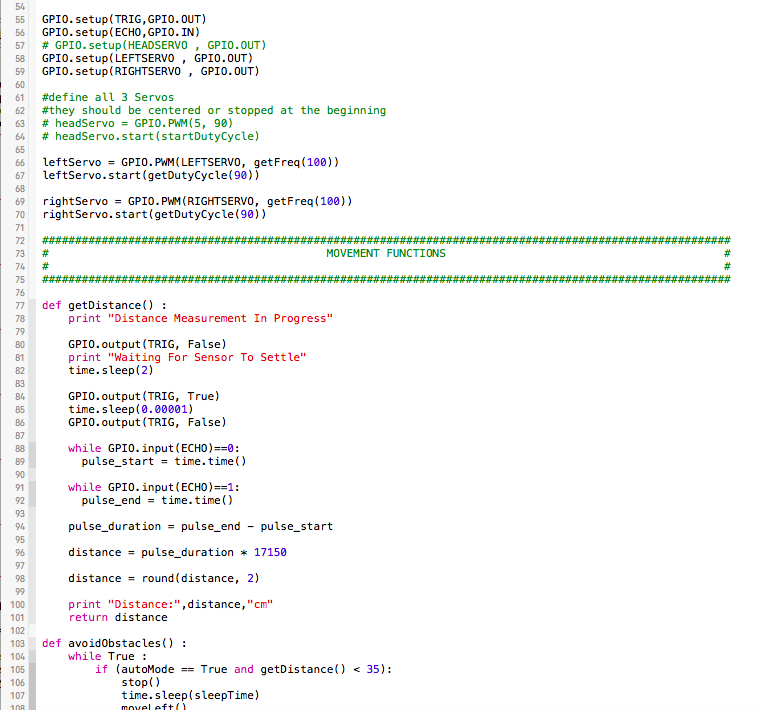
The ultrasonic sensor uses sound to determine distances to an object like bats and dolphins do. It offers excellent non-contact 2cm to 400cm range detection with high accuracy. The picture of the ultrasound sensor is shown in Fig. 7, while the connections are shown in Fig. 8. We have a voltage divider to GPIO pin 24 because the outputted voltage from the ECHO is 5V but the Raspberry Pi GPIO need a max of 3.3V in order not to damage. Basically, we send an input to the TRIG pin which triggers the sensor to send an ultrasonic pulse. The pulse is reflected back to the sensor and the distance is calculated from the time between the trigger and reflected pulse. This sequence is shown in Fig. 9. The distance in cm is calculated by : time * 17150. Where the speed of sound is 34300 cm/s but since the distance is actually twice (transmitted distance + reflected distance), we use half of the speed in calculation. So when WALL-E is in auto mode and it sees an obstacle about 35m from it, it turns left and turns right if there is another obstacle on the left and finally, back if there is an obstacle on the right.
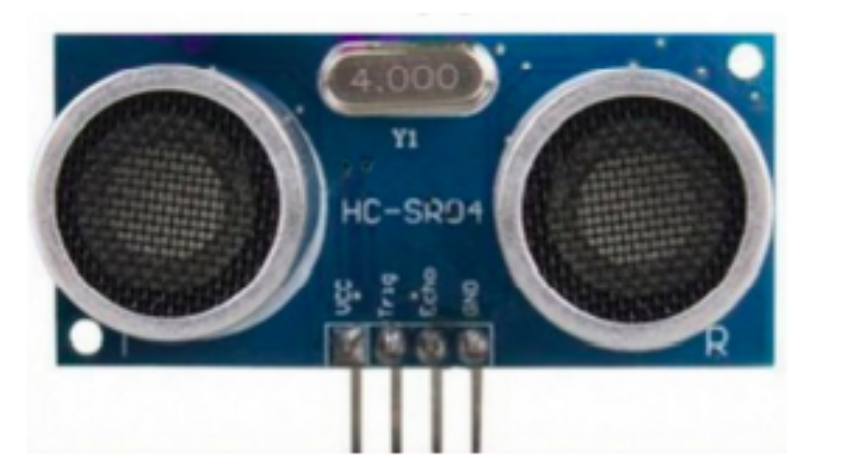
Figure 7 : Ultrasound Sensor
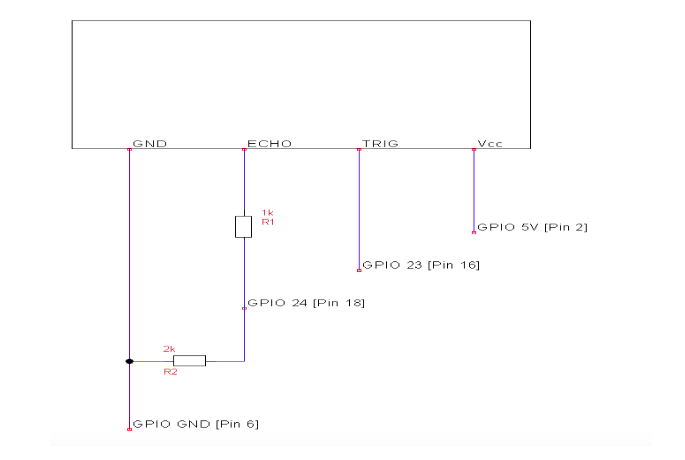
Figure 8 : Ultrasound Connections

Figure 9 : Ultrasound
Results and Conclusions
Overall our components worked as planned, but there were two main issues:
- There was a really long lag in receiving commands via secure shell
- It was difficult moving exactly 90 degrees left or right using just PWM and timers
The latter causes the servo to deviate from it’s track while in auto mode. See Future Work below.
Future Work
We wanted to have WALL-E follow faces using the openCV library and the pi camera, but we had spent so much time adjusting frames that this wasn’t possible to complete before the demo.
If we had a higher budget, we would also have gotten a custom made stable quadruped robot which we would have used instead of WALL-E :(.
Finally, we would have liked to use a wheel speed sensor, to aid with the turning movement of the robot so it does not easily deviate from its track.
Code Appendix
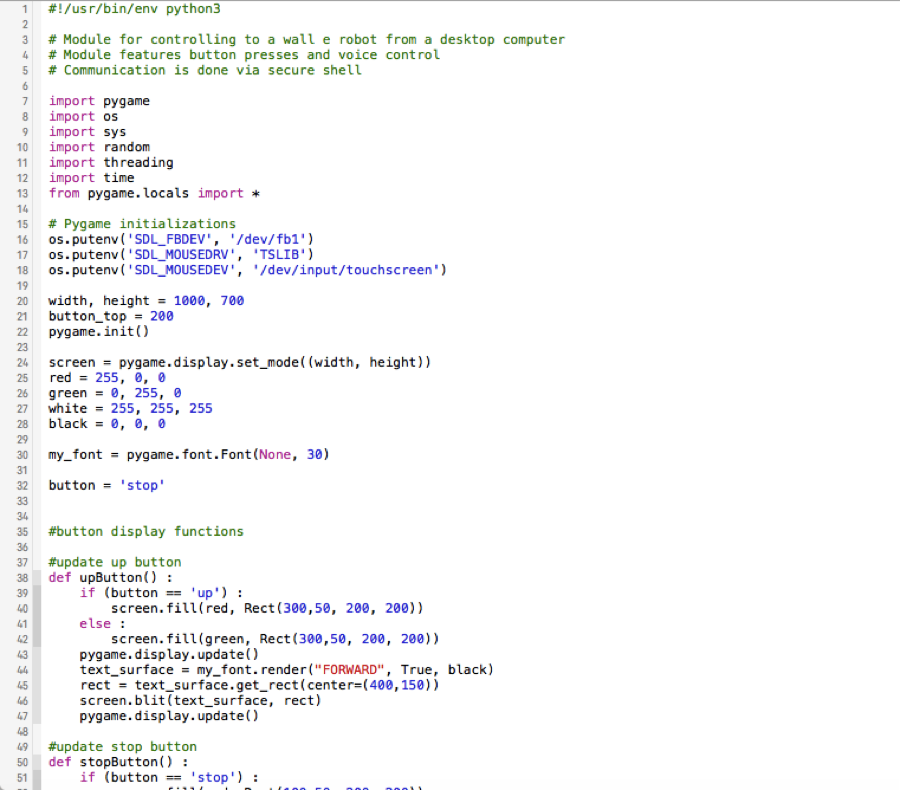
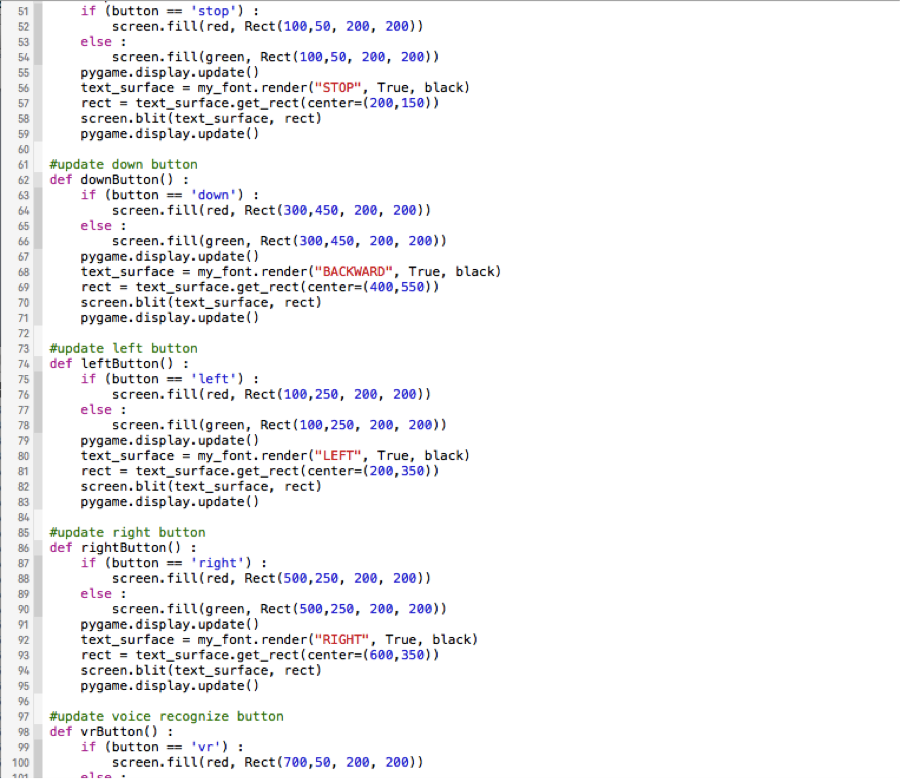
walleClient.py

walleServer.py

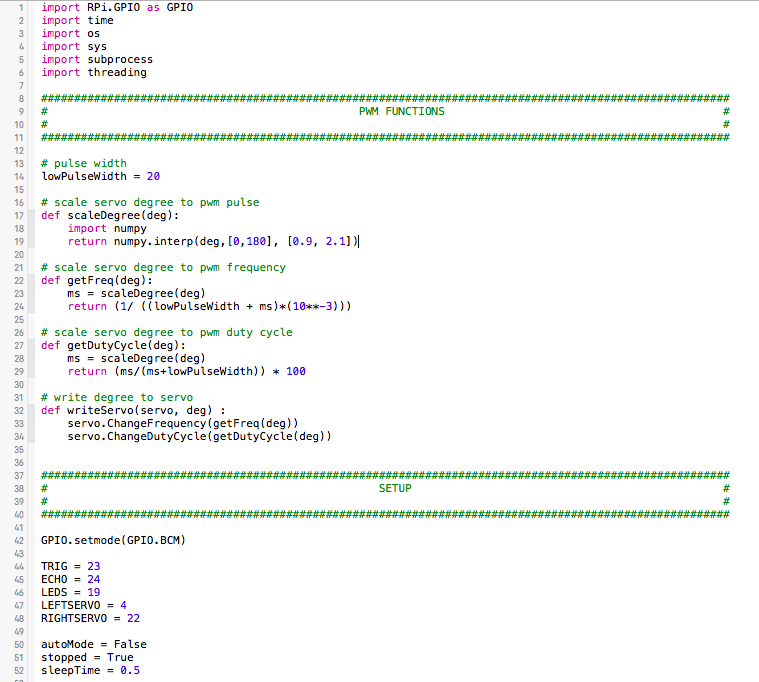

Work Distribution
Leke worked on the code, testing each component, writing the lab report doc and writing it as a webpage. Xiaobin worked on assembling the robot, ensuring proper function after assembly and writing the lab report doc.
Bill of Materials
- Ultrasound sensors - $12.56
- Microservos - $21.55
- [2] Continous rotation servos - $25.78
- WALL-E toy frame - $54
References
[1] SG90 servo User Guide http://www.micropik.com/PDF/SG90Servo.pdf [2] HC-SR04 Micropik Datasheet http://www.micropik.com/PDF/HCSR04.pdf [3] HC-SR04 User’s Manual v1.0 https://docs.google.com/document/d/1Y-yZnNhMYy7rwhAgyL_pfa39RsB-x2qR4vP8saG73rE/edit [4] Speech, Google Cloud Platform https://cloud.google.com/speech/ [5] Speech Recognition Library https://github.com/Uberi/speech_recognition [6] Ultrasound tutorial http://www.modmypi.com/blog/hc-sr04-ultrasonic-range-sensor-on-the-raspberry-pi [7] Quadruped robot https://spiercetech.com/shop/content/8-meped
Acknowledge- ments
Thanks to Professor Joe Skovira and the TAs for their incessant support throughout the semester :)